

To make lined eyelet curtains, you will need to start by measuring the length and width of your window to determine the size of fabric needed. Next, choose a suitable fabric for both the curtain and lining, ensuring they complement each other in terms of color and texture.
Cut the fabric to the desired size, adding extra for hems and seams. Hem the sides and bottom of both the curtain and lining fabric before sewing them together, right sides facing each other. Leave the top edge open for the eyelets. Once the curtain and lining are sewn together, create evenly spaced markings along the top edge for the eyelets.
Use an eyelet punch tool to create holes at these markings, then insert the eyelets and secure them in place. Finally, hang the curtains using a curtain rod and adjust the length as needed.
This process will result in beautifully lined eyelet curtains that not only enhance the aesthetic of your space but also provide privacy and light control.
What measurements are needed for lined eyelet curtains?
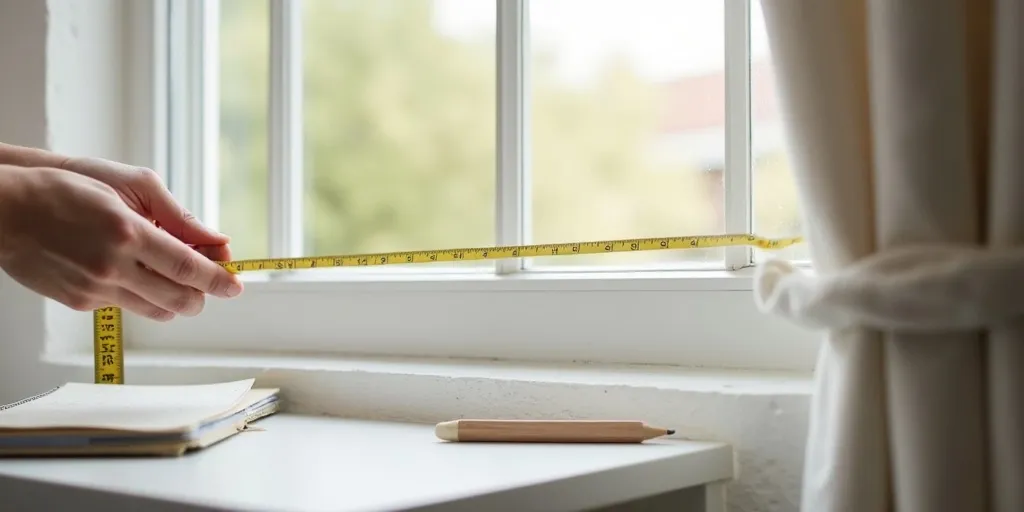
When measuring for lined eyelet curtains, there are a few key measurements that are needed to ensure a proper fit. First, you will need to measure the width of the window or area where the curtains will be hung.
To do this, measure the width of the window frame or the area you want the curtains to cover. It is recommended to add an extra 10-15cm to each side of the window frame to allow for proper coverage and a full look when the curtains are closed. Next, you will need to measure the drop or length of the curtains.
Measure from the top of the curtain pole or track to where you want the curtains to fall. Again, it is advisable to add a few extra centimeters to ensure the curtains reach the desired length. Additionally, if you are planning to have the curtains gathered when closed, you may want to double the width measurement to ensure there is enough fabric for a full and luxurious look.
By taking these measurements into account, you can ensure that your lined eyelet curtains will fit perfectly and enhance the overall aesthetic of your space.
How do you choose fabric for lined eyelet curtains?
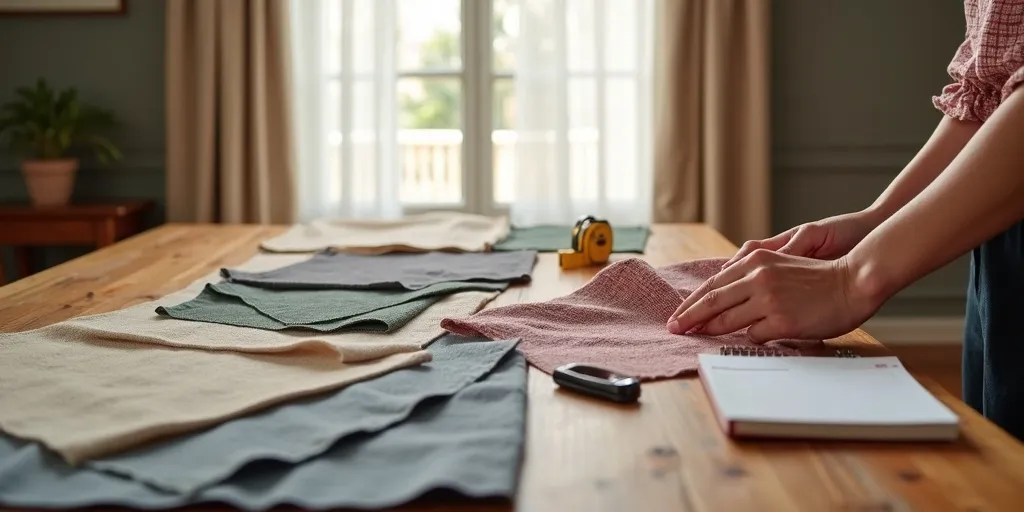
When choosing fabric for lined eyelet curtains, there are several factors to consider to ensure you achieve the desired look and functionality. Firstly, it is important to select a fabric that is suitable for curtains, such as cotton, linen, or polyester, as these materials drape well and are easy to work with.
Additionally, consider the weight of the fabric, as heavier fabrics will provide better insulation and light-blocking properties, while lighter fabrics will create a more airy and delicate look.
For lined eyelet curtains, it is recommended to choose a lining fabric that complements the main fabric and enhances its appearance.
A light-colored lining can help to brighten the room and prevent the main fabric from fading due to sunlight exposure. When selecting a lining fabric, consider the thickness and opacity to ensure it provides the desired level of privacy and light control.
In terms of style, consider the pattern and color of the fabric to coordinate with the overall decor of the room. Solid colors are versatile and timeless, while patterns can add visual interest and personality to the space.
Ultimately, the fabric you choose for lined eyelet curtains should reflect your personal style, meet your functional needs, and enhance the aesthetic of the room.
How do you create eyelets for lined curtains?
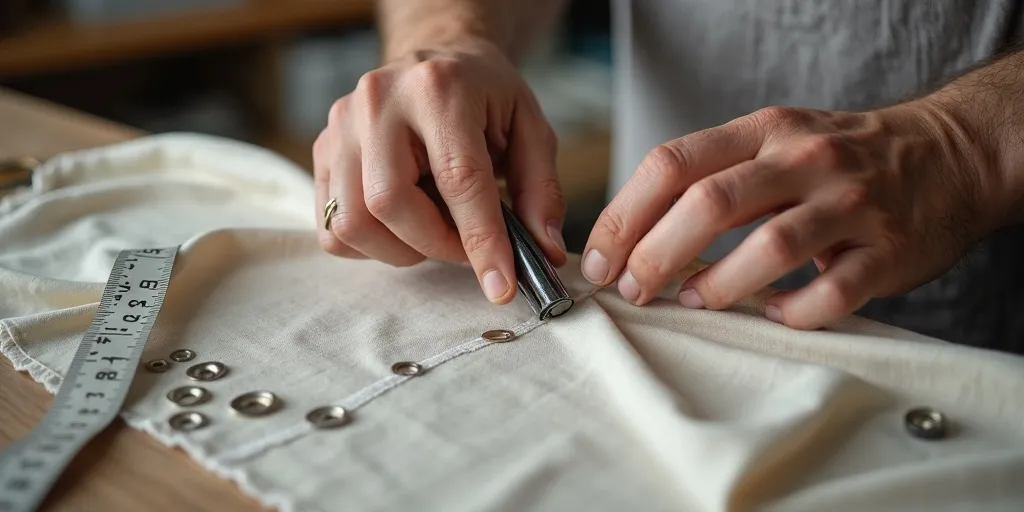
Creating eyelets for lined curtains is a simple process that can be done with a few basic tools and materials. To begin, you will need to measure and mark the placement of the eyelets on the top edge of the curtain panel. Once you have determined the spacing and placement of the eyelets, use a fabric marker or chalk to make small dots at each location.
Next, use a sharp pair of fabric scissors to carefully cut out small holes at each marked spot. These holes should be just large enough to accommodate the eyelets.
After the holes have been cut, insert the eyelets into each one, making sure that they are securely in place.
To do this, you may need to use a hammer or mallet to gently tap the eyelets into the fabric. Once all of the eyelets have been inserted, your lined curtains are now ready to be hung on a curtain rod. The eyelets will not only add a decorative touch to your curtains but will also make it easier to open and close them smoothly.
With these simple steps, you can create eyelets for lined curtains in no time.
What is the final step in making lined eyelet curtains?
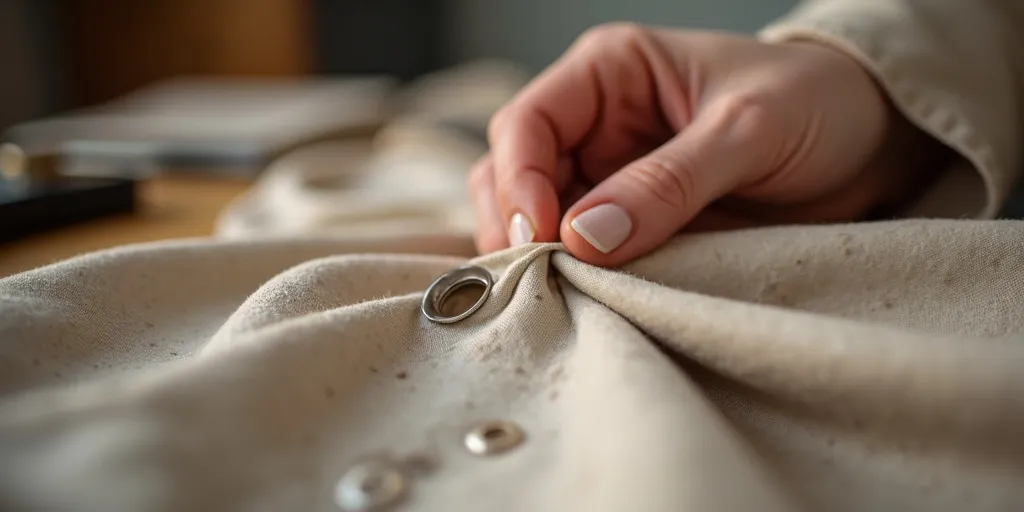
The final step in making lined eyelet curtains is to hang them up and adjust them to ensure they are properly positioned and hanging straight. Once the curtains have been sewn, lined, and eyelets have been added, it is important to carefully hang them on the curtain rod.
Start by sliding the eyelet rings onto the rod, making sure they are evenly spaced. Then, adjust the curtains to ensure they are hanging evenly and at the desired length. It is important to step back and take a look at the curtains from a distance to make sure they are hanging straight and not crooked.
If necessary, adjust the curtains by pulling them slightly to one side or the other until they are hanging perfectly. Once the curtains are hanging straight and at the desired length, step back and admire your handiwork. Your lined eyelet curtains are now ready to enhance the beauty of your room and provide privacy and light control.