
To make eyelet curtains using eyelet tape, you will first need to gather your materials, including your chosen fabric for the curtains, eyelet tape, a sewing machine, scissors, and an iron. Begin by measuring and cutting your fabric to the desired size for your curtains.
Next, fold and press the edges of the fabric to create a clean hem. Then, attach the eyelet tape to the top edge of the curtain panel, making sure to space the eyelets evenly along the length. Sew the eyelet tape onto the fabric using a sewing machine, ensuring that the stitches are secure.
Once the eyelet tape is attached, insert the curtain rod through the eyelets to hang the curtains. Finally, adjust the length of the curtains as needed and iron out any wrinkles for a polished finish. By following these steps, you can easily create stylish and functional eyelet curtains using eyelet tape.
What materials are needed to make eyelet curtains with eyelet tape?

To make eyelet curtains with eyelet tape, you will need a few key materials. First and foremost, you will need the fabric for your curtains. Choose a fabric that is suitable for curtains and that complements the decor of the room.
You will also need eyelet tape, which is a strip of fabric with evenly spaced eyelets that will be used to create the holes for the curtain rod to pass through. Additionally, you will need a curtain rod to hang your curtains on, as well as curtain rings or hooks to attach the curtains to the rod.
Other materials you may need include a sewing machine, thread, scissors, and measuring tape. To make the curtains, you will need to cut the fabric to the desired size, attach the eyelet tape to the top of the fabric, and then sew the tape in place. Once the eyelet tape is attached, you can insert the curtain rod through the eyelets and hang your curtains.
With these materials and a bit of sewing know-how, you can create beautiful eyelet curtains for your home.
How do you attach eyelet tape to the top edge of the curtain panel?
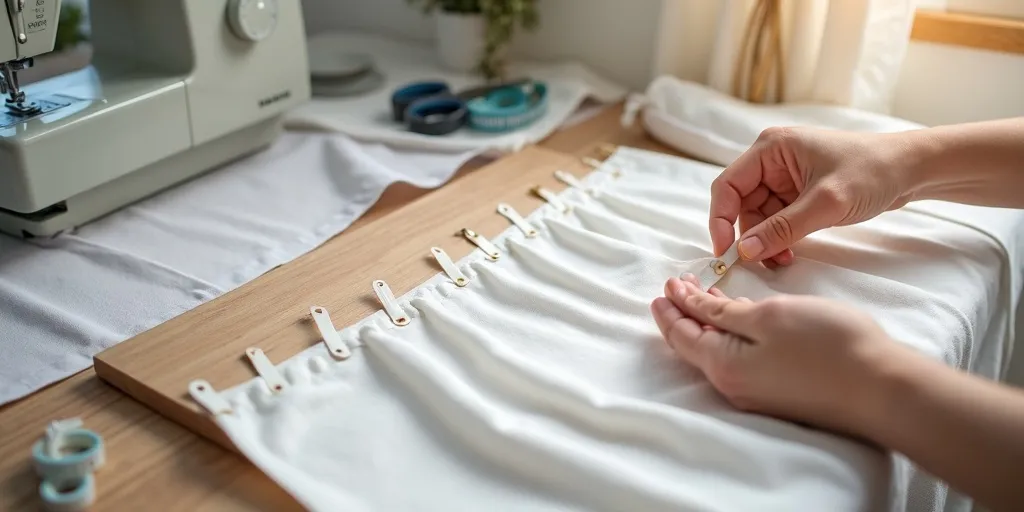
Attaching eyelet tape to the top edge of a curtain panel is a simple process that can add a professional finish to your window treatments. To begin, measure the width of your curtain panel and cut the eyelet tape to the same length. Next, lay the curtain panel flat on a work surface with the top edge facing up.
Position the eyelet tape along the top edge of the curtain panel, ensuring that the eyelets are evenly spaced and facing outward. Pin the eyelet tape in place along the top edge of the curtain panel, making sure to secure it securely.
Once the eyelet tape is pinned in place, sew along the top edge of the curtain panel, attaching the eyelet tape securely. Be sure to backstitch at the beginning and end of your sewing to reinforce the seam. Once the eyelet tape is securely attached, remove the pins and trim any excess thread. Your curtain panel is now ready to be hung using curtain rings or a curtain rod.
What is the final step in creating eyelet curtains using eyelet tape?
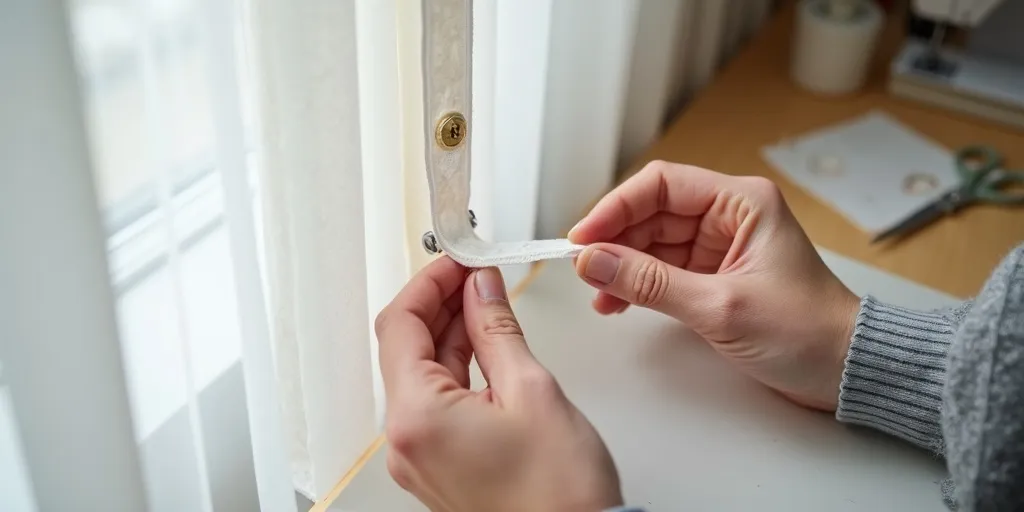
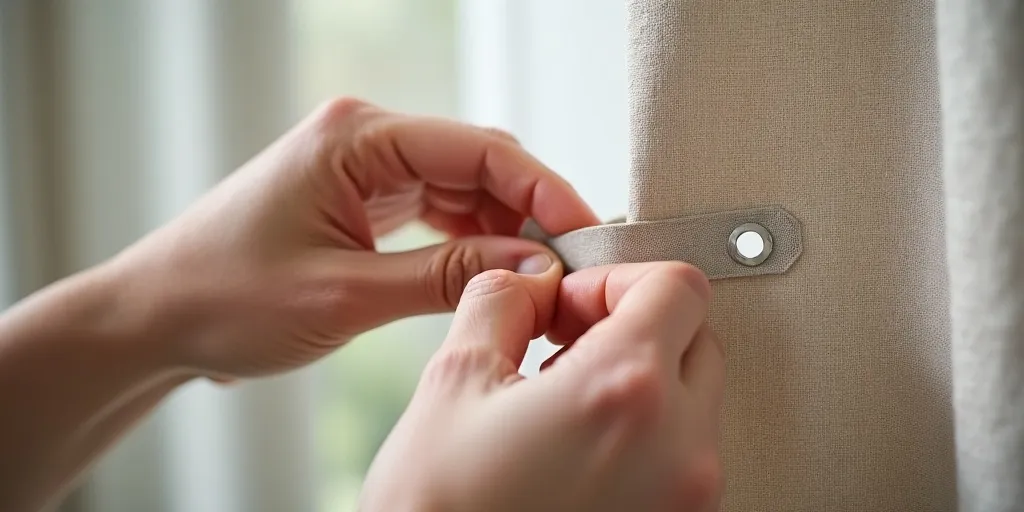
The final step in creating eyelet curtains using eyelet tape is to insert the curtain rod through the eyelets. Once you have attached the eyelet tape to the top of the curtain panel and secured it in place, you will need to slide the curtain rod through the eyelets.
This step is crucial as it allows you to hang the curtains properly and ensures that they will drape nicely when closed. Make sure that the curtain rod is the appropriate size for the eyelets on the tape to prevent any issues with hanging the curtains. Once the rod is in place, you can adjust the curtains as needed to achieve the desired look and length.
This final step completes the process of creating eyelet curtains using eyelet tape, resulting in a finished product that is both functional and aesthetically pleasing. By following these steps carefully, you can easily create beautiful eyelet curtains that will enhance the decor of any room in your home.
How can you ensure the stitches are secure when sewing the eyelet tape onto the fabric?
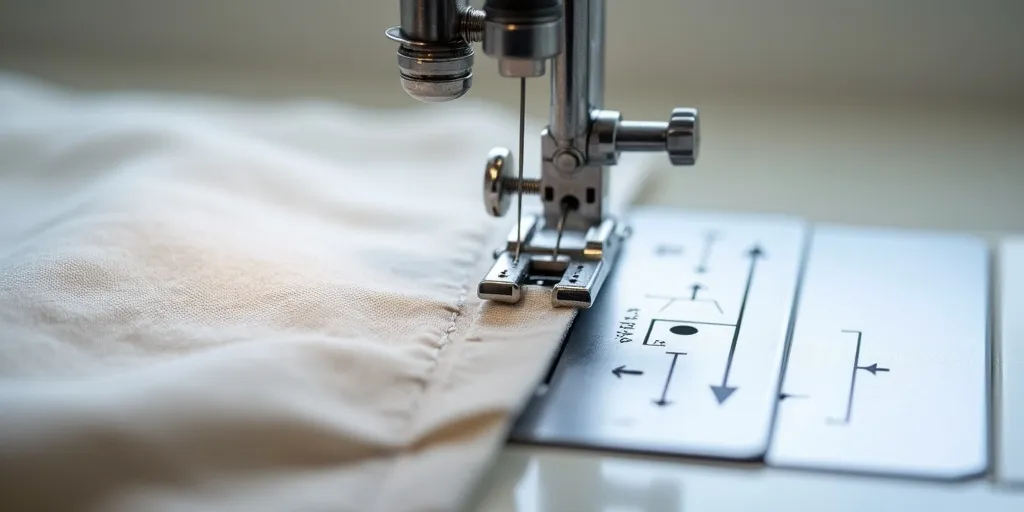
To ensure that the stitches are secure when sewing the eyelet tape onto the fabric, there are several key steps to follow. First, make sure to use a strong and appropriate thread for the job, such as a heavy-duty or upholstery thread. This will help prevent the stitches from breaking or coming loose over time.
Next, be sure to use a suitable needle size for the thread and fabric you are working with to ensure that the stitches are tight and secure. Additionally, it is important to sew the eyelet tape onto the fabric with even and consistent stitches, making sure to backstitch at the beginning and end of each seam to lock the stitches in place.
Finally, consider reinforcing the stitches by sewing over them multiple times or adding a small dab of fabric glue to secure them further. By following these steps and paying attention to detail, you can ensure that the stitches are secure when sewing the eyelet tape onto the fabric, resulting in a professional and durable finish.