
To make eyelet curtains, you will need to start by measuring the length and width of your window to determine the size of fabric needed. Once you have your measurements, cut the fabric to size, making sure to leave extra fabric for hems and seams. Next, fold and press the edges of the fabric to create hems on all sides.
Sew the hems in place using a sewing machine or by hand. Then, mark the placement of the eyelets along the top edge of the curtain, spacing them evenly apart. Use an eyelet punch tool to create holes for the eyelets, following the manufacturer’s instructions.
Insert the eyelets into the holes and secure them in place with a hammer. Finally, hang the curtains on a curtain rod and adjust the length as needed. Eyelet curtains are a stylish and modern window treatment that can add a touch of elegance to any room.
With a few simple steps, you can create your own custom eyelet curtains to enhance the decor of your home.
What measurements are needed for making eyelet curtains?
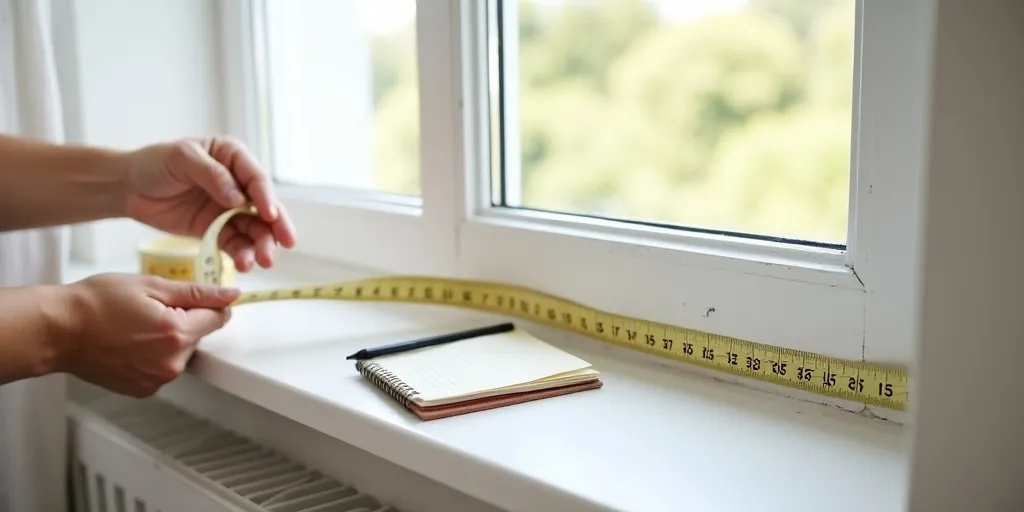
When making eyelet curtains, there are several measurements that are essential to ensure a proper fit and appearance. First, you will need to measure the width of your window to determine the width of the curtain fabric needed. To achieve a full and gathered look, it is recommended to multiply the window width by 1.
Next, measure the length from the top of the curtain rod to where you want the curtains to fall, whether it be just below the window sill or to the floor. Add a few extra inches for hemming and the eyelet header.
Additionally, you will need to measure the diameter of the curtain rod to determine the size of the eyelets needed. Eyelets typically come in standard sizes, so choose the appropriate size based on your rod diameter. Lastly, consider the spacing of the eyelets along the top of the curtain panel for a balanced and even look.
By taking these measurements into account, you can create eyelet curtains that are tailored to fit your window perfectly and enhance the overall aesthetic of your space.
How do you create hems on fabric for eyelet curtains?
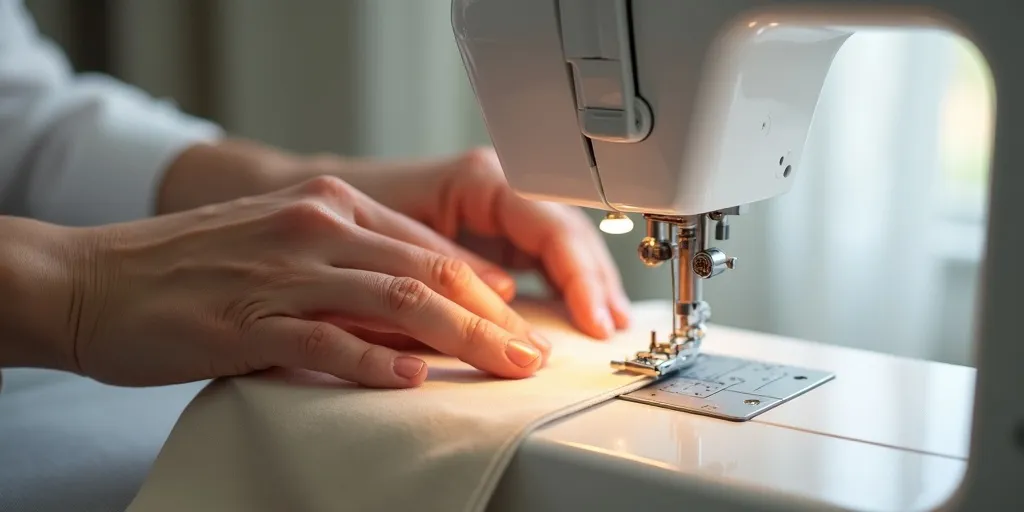
Creating hems on fabric for eyelet curtains involves a few key steps to ensure a professional and polished finish. To begin, measure and mark the desired hem length on the fabric, typically around 1-2 inches depending on personal preference. Next, fold the fabric over to create a double-fold hem, ensuring that the raw edge is tucked neatly inside.
Use pins to secure the hem in place before sewing. When sewing the hem, a straight stitch or blind hem stitch can be used for a clean and secure finish. It is important to backstitch at the beginning and end of the seam to prevent unraveling.
Once the hem is sewn, press it with an iron to create a crisp edge. Finally, attach the eyelet rings to the top of the curtain panel, spacing them evenly along the hemmed edge. This will allow the curtain to be easily hung on a rod.
By following these steps, you can create beautifully finished hems on fabric for eyelet curtains that will enhance the overall look of your window treatments.
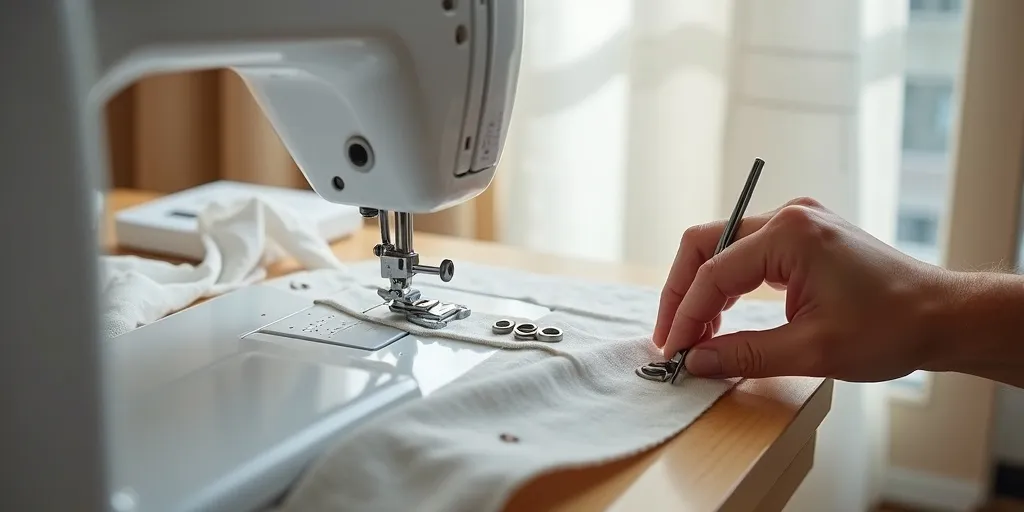
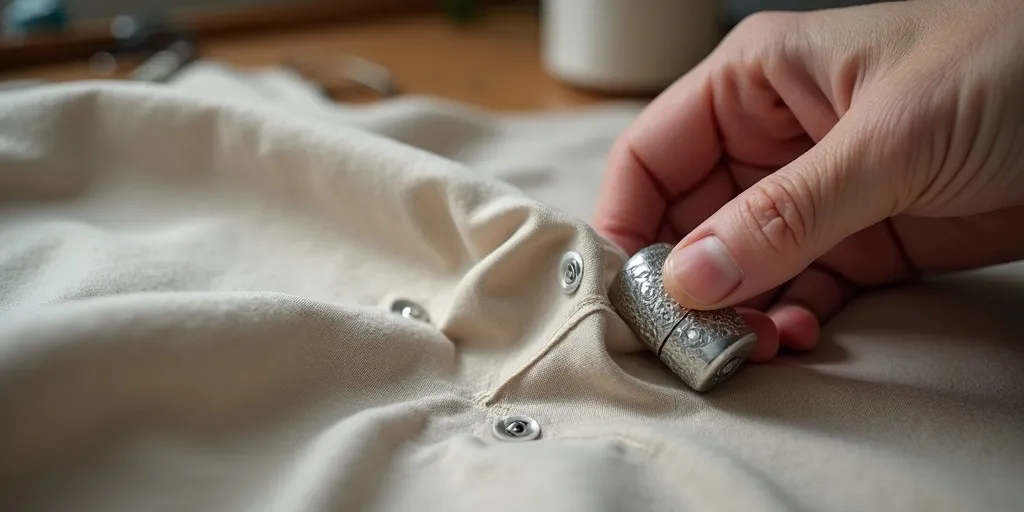
How do you mark and insert eyelets on the curtain?
To mark and insert eyelets on a curtain, you will first need to determine the placement of the eyelets along the top edge of the curtain. Measure and mark the desired spacing for the eyelets, ensuring they are evenly spaced and aligned.
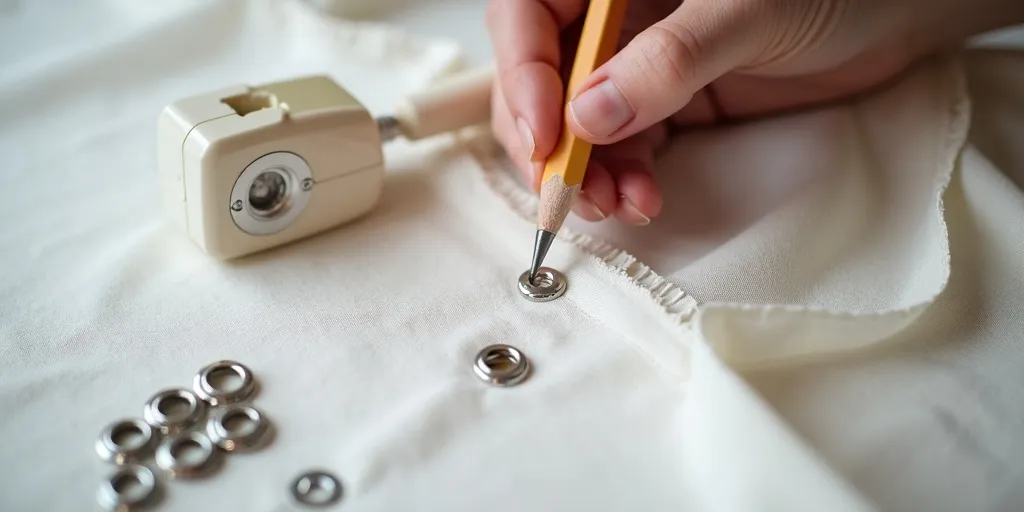
Once you have marked the positions for the eyelets, use a fabric hole punch or eyelet punch tool to create holes at each marked point. Make sure the holes are the appropriate size for the eyelets you will be using. Next, insert the eyelets into the holes, making sure they are securely in place. You may need to use an eyelet setting tool to help secure the eyelets in the fabric.
Once all the eyelets are inserted, your curtain is now ready to be hung using a curtain rod or hooks. Eyelets not only add a decorative touch to your curtain but also make it easier to open and close the curtain smoothly.
By following these steps, you can easily mark and insert eyelets on your curtain to enhance its functionality and aesthetic appeal.
What is the final step in making eyelet curtains?
The final step in making eyelet curtains is to insert the eyelet rings into the pre-cut holes along the top edge of the curtain panel. These eyelet rings serve both a functional and decorative purpose, allowing the curtain to be easily hung on a curtain rod while also adding a stylish finishing touch to the overall look of the curtains.
To insert the eyelet rings, simply place the ring over the pre-cut hole and use a hammer or mallet to secure the ring in place. It is important to ensure that the eyelet rings are evenly spaced along the top edge of the curtain panel to ensure a uniform and professional finish.
Once all the eyelet rings have been inserted, the curtains are ready to be hung on a curtain rod and displayed in your home. This final step completes the process of making eyelet curtains and transforms a simple fabric panel into a functional and stylish window treatment that can enhance the look of any room.